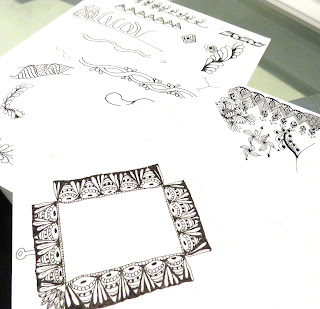
How did I do that?
>> February 20, 2018 –
art,
creativity,
fiber art,
how-to
I have had many questions about the frame I made for my miniature piece which has left for Rome. I thought I would share how I made it with you.
I was not sure what to do about a frame. I looked everywhere for a frame that would be to my liking, work with the stitched piece and be no larger than 3"x3". When I couldn't find anything that would work I decided to try and make my own. I used heavy watercolor paper and Rapidograph pens with 0.125 and 0.35 mm nibs. These very fine pens allowed me to draw with lots of detail in a very small space.
I knew I wanted small detailed drawings in black and white to offset the colors of the silk fibers. I began doodling and playing around and came to a point where I knew what would work. I measured two pieces of the paper to the size I wanted.
With one piece of the paper I cut an opening in the center the size of the needlepoint piece. I began carefully drawing the frame decorations. I then cut the silk gauze with a border around the stitched area and taped it to the back of the paper. Next I taped the second piece of paper onto the back of the frame thus closing the silk gauze in place.
I forgot to mention that I also cut out a little star shaped leaf on the top of the frame for a bit more interest.
Voila!!


Nice sshare